How to Install an Intercooler Duct
By Rob Robinette
I was very disappointed in the stock mount GReddy intercooler duct adapter so I bought a Pettit Cool Charge II intercooler duct for $110 and modified it to fit the GReddy unit.
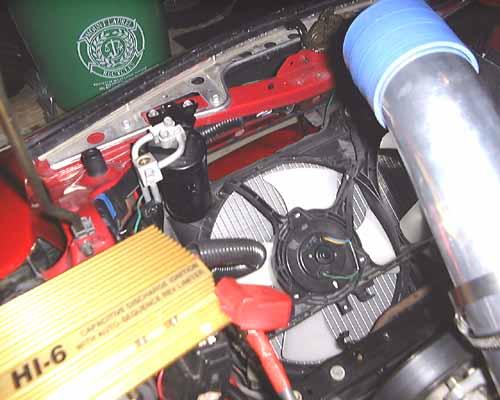
The stock intercooler duct removed
I had to use tin snips to cut the stock plastic IC duct out. The hard part is cutting out the air conditioning "tank" that sits in front of the battery.
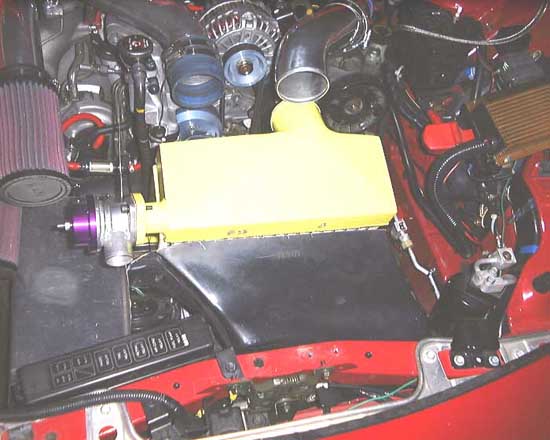
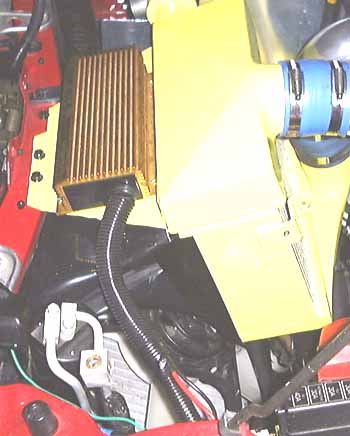
The Pettit duct installed but not trimmed
Another view, pre-trimmed
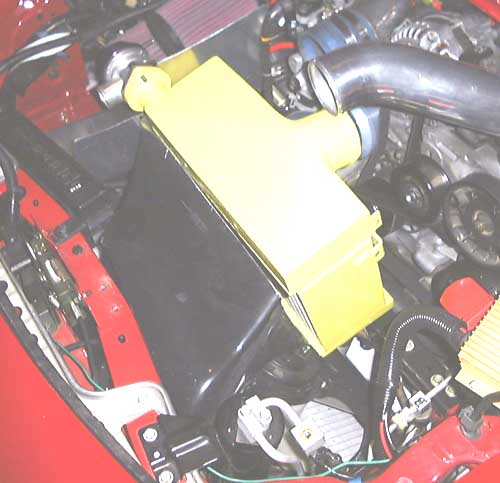
I installed the Pettit duct and then used the GReddy IC's mount, that runs from the frame to the top of the IC, as a gauge for how to trim the duct. I had to take off about 1/4 inch from the top of the duct where it mates up to the IC. I trimmed both sides a little for a good fit. I used a Dremmel tool with a cutting disk to cut the fiberglass duct.